
Twitter is a social media platform that you can harness as a student or business owner to help you reach your goals. It can be incorporated into any digital strategy and is a great tool to reach a wide audience, whether that be potential customers or prospective employers.
This tutorial is a step by step guide on how to set up a twitter account. Although it is a simple process, the following guide will hopefully be of use for getting started with your twitter account.
Step 1: Head to Twitter and Click ‘Sign Up’

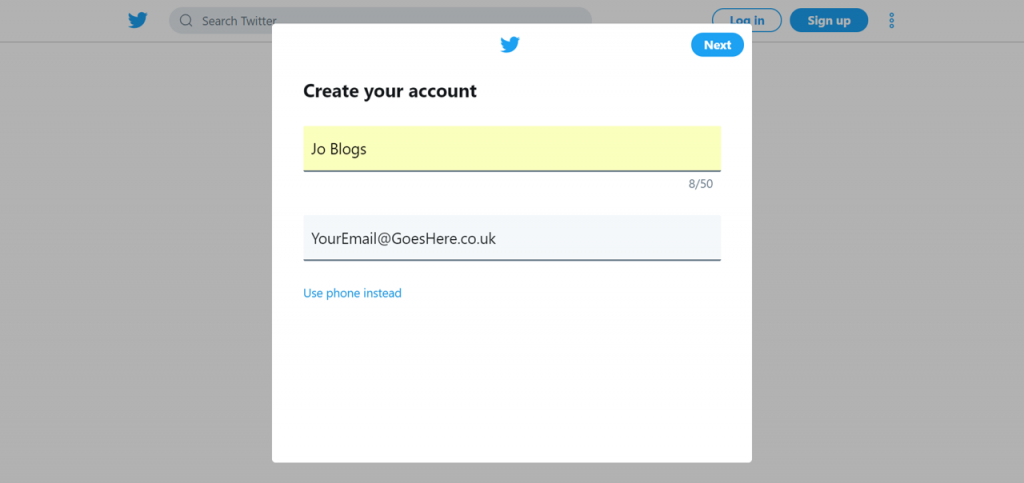
Step 2: Input Your Name and Email
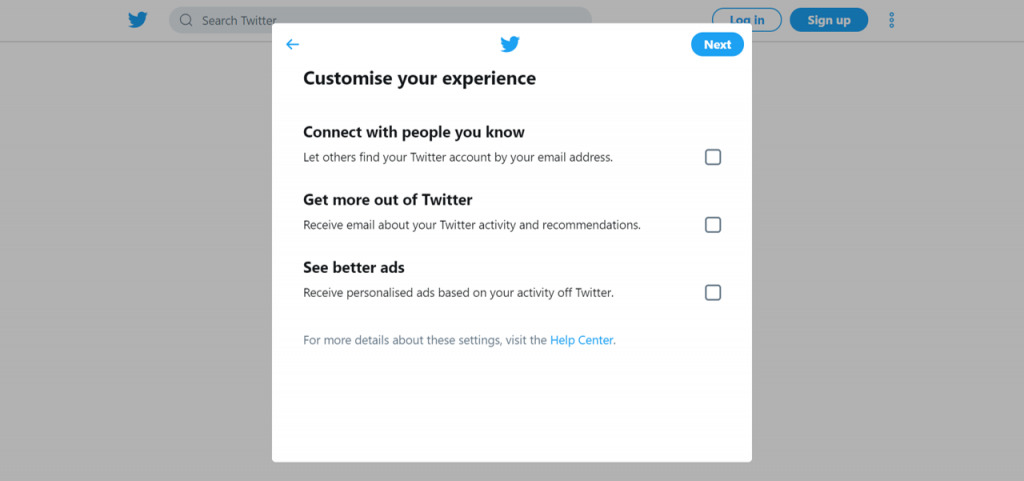
Step 3: Set Your Email Preferences
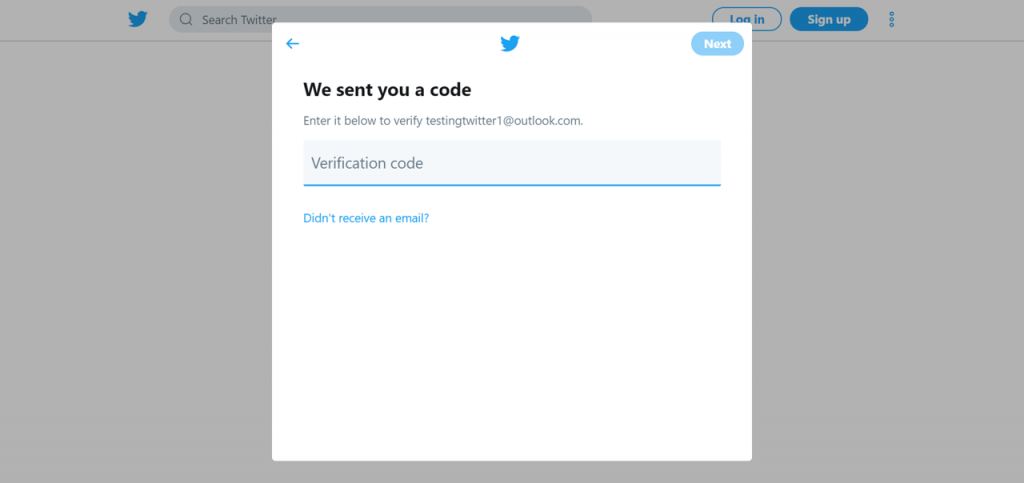
Step 4: Verify Your Email With The Code
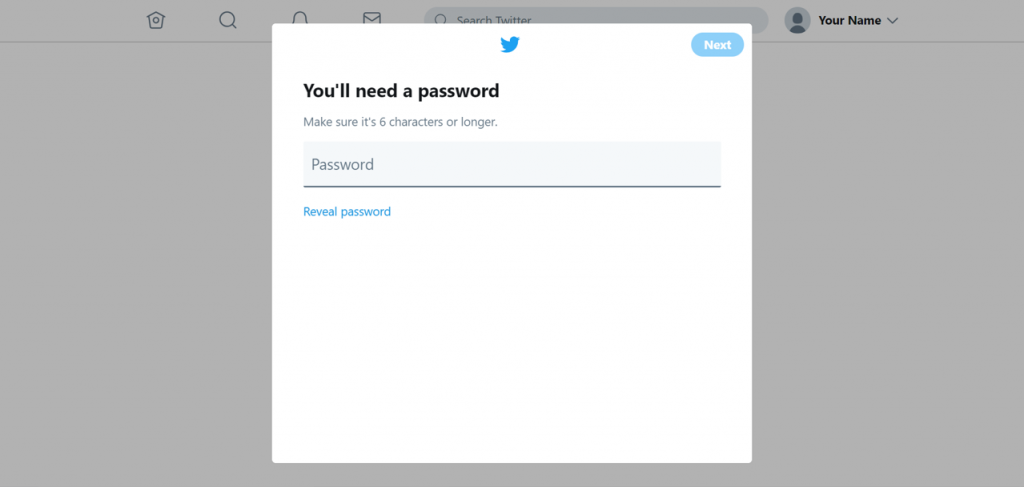
Step 5: Set Your Password
Step 6: Upload Your Profile Picture (or Skip)

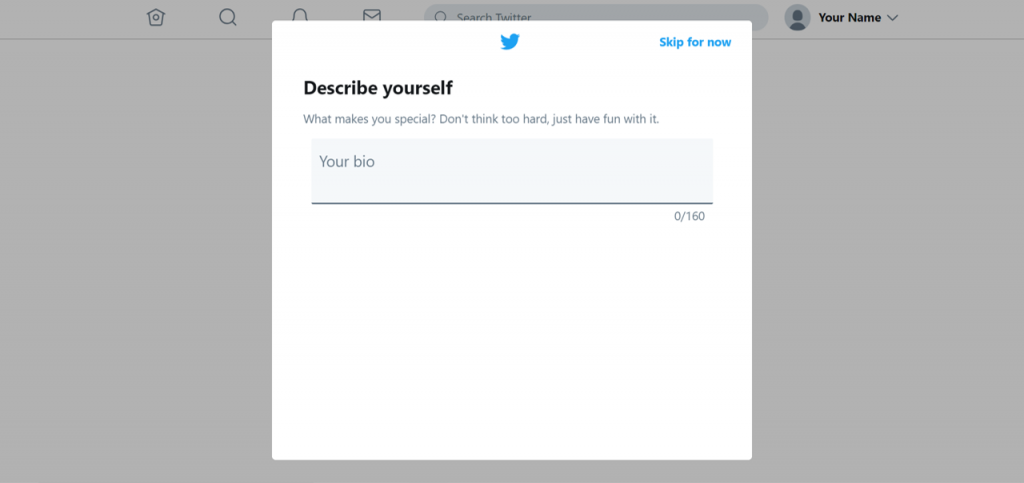
Step 7: Add Your Bio (or Skip)
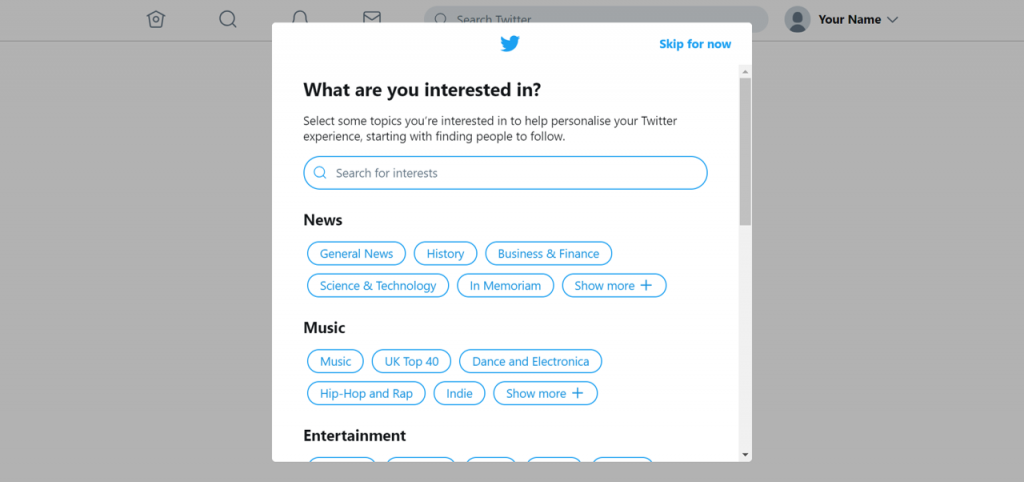
Step 8: Select Some Topics of Interest (or Skip)
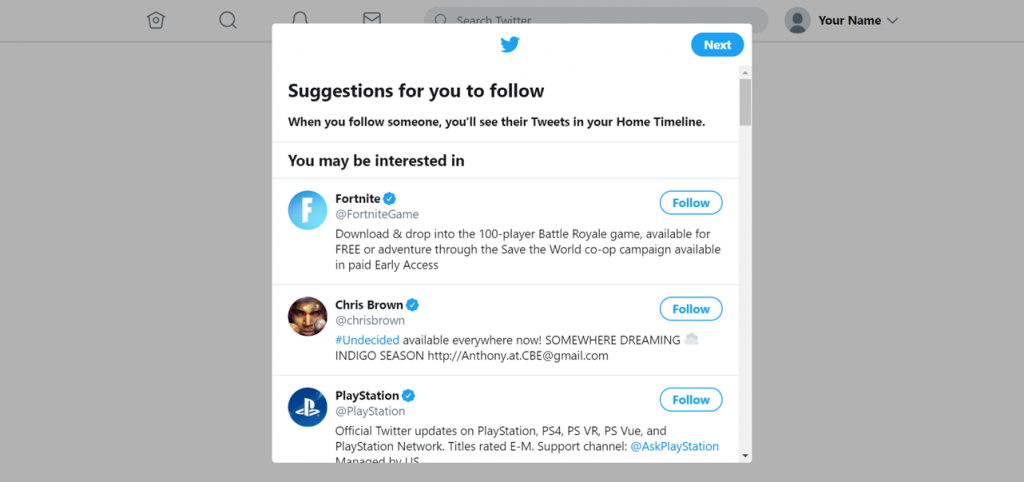
Step 9: Follow Some Initial Accounts (or Skip)
Step 10: Allow Notifications (or not)

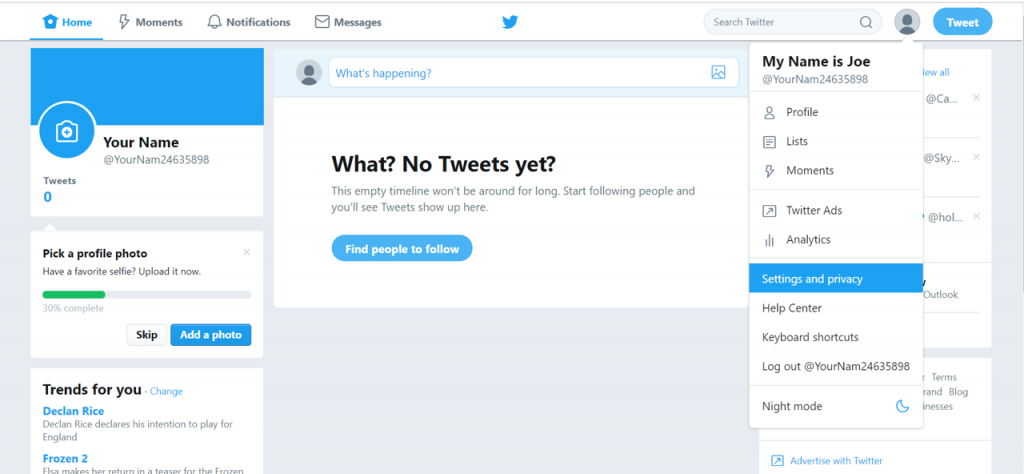
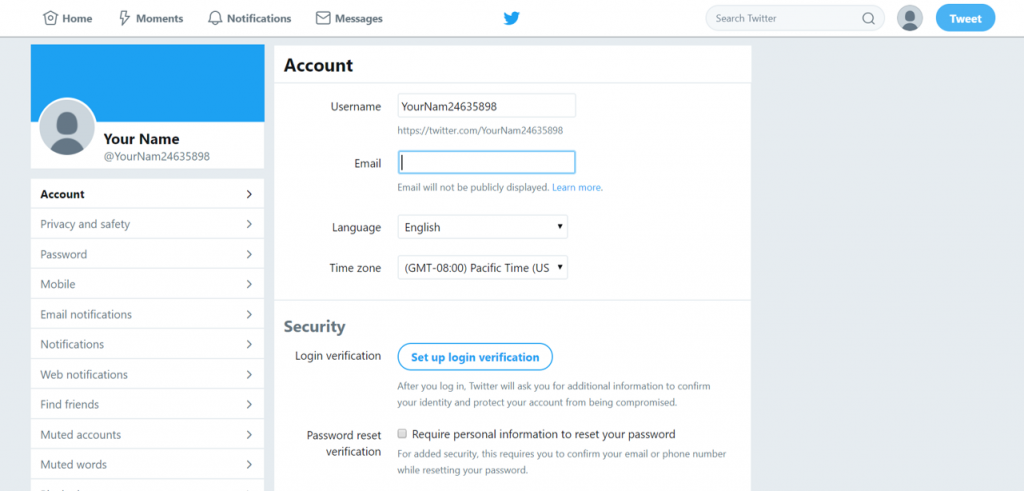
Step 11: Head To Your Settings
Step 12: Change Your Handle (if you want to of course)
After this last step you are free to do as you please with your Twitter account. Make sure you have a look around and check out all of Twitter’s features.
If you need any further help with your Twitter adventures, leave me a comment or send me a message on any of the social platforms above and I will be sure to help you as best I can.